Music production / Music guide
Building a beat with kick, snare and hi-hat
Eight drum sounds might accompany just two required inputs. Plot beats, instruments and targets on the same grid, then vary tempo and accent placement separately to see how a musical pattern becomes a play task.
Article summary
- Put musical events and play targets on different rows.
- Compare half-time snare placement separately from tempo changes.
- Distinguish the roles of mixed files, stems and schedule CSVs.
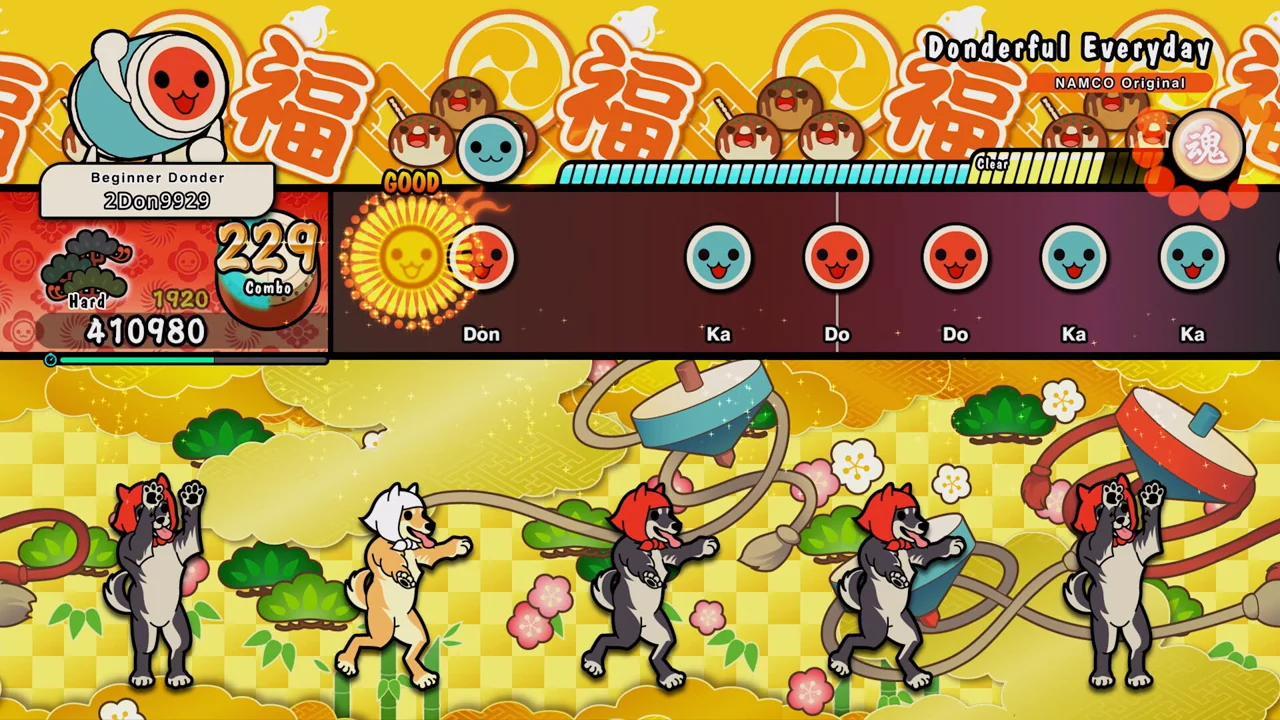
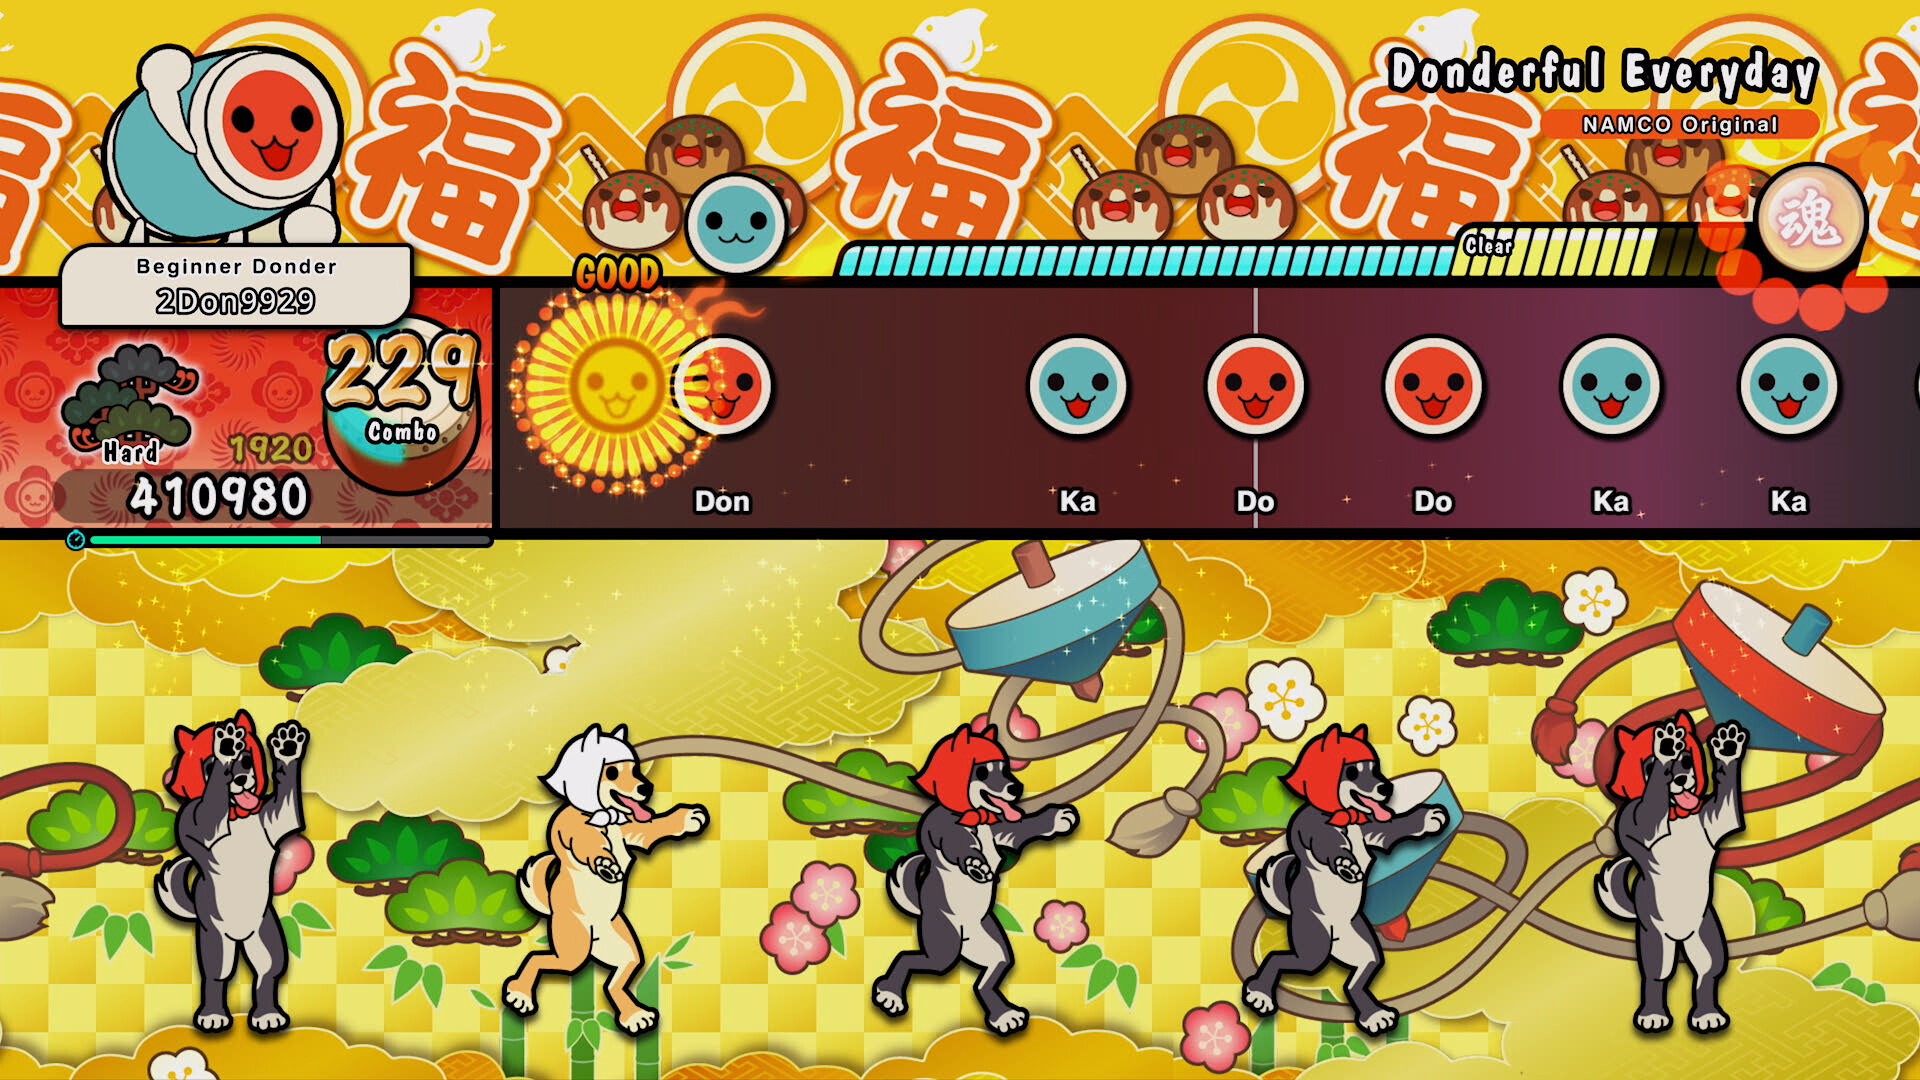
Taiko no Tatsujin: Rhythm Festival · Official PC screenshot
Colors and hit markers guide the actions in this game screen. The kick-and-snare grid below was made independently of the game's internal instrument mapping.
Image credit: Bandai Namco Entertainment / Steam · Source page ↗ · Original image ↗
Separate musical beats, instrument sounds and input targets
Counting a pulse, placing drums and asking a player to press are three separate design choices. Taiko no Tatsujin's colors and hit markers guide its own actions. Define the intended relationship between music and action before assigning those markers a kick-and-snare mapping.
The original example is one bar of 4/4 at 120 BPM. The kick sounds on beats 1 and 3, the snare on 2 and 4, and the hi-hat on each half beat. Input A targets beats 1 and 3; input B targets every beat. The music stays fixed while the actions change.
Related primary sources: Ableton · Beat and tempo ↗
Read sounds and actions on the same grid
With the first beat at 0 seconds, each beat lasts 0.5 seconds and a bar lasts 2 seconds. The kick occurs at 0 and 1 seconds; the snare at 0.5 and 1.5 seconds; hi-hats every 0.25 seconds from 0 through 1.75 seconds. The bar's end at 2 seconds is the start boundary of the next bar.
Read the grid as 1-and-2-and-3-and-4-and. Instrument rows mark sounds; input rows mark actions. Naming the layer players should follow lets the same music support different tasks.
Comparisons changing one condition at a time
| Comparison | Fixed | Changed |
|---|---|---|
| Tempo | Instruments, arrangement and synthesized levels | 100·120·140 BPM |
| Accents | 120 BPM, kick and hi-hat | Snare: beats 2 and 4 → beat 3 |
| Task | Music, display and judgment conditions | 2 inputs → 4 inputs |
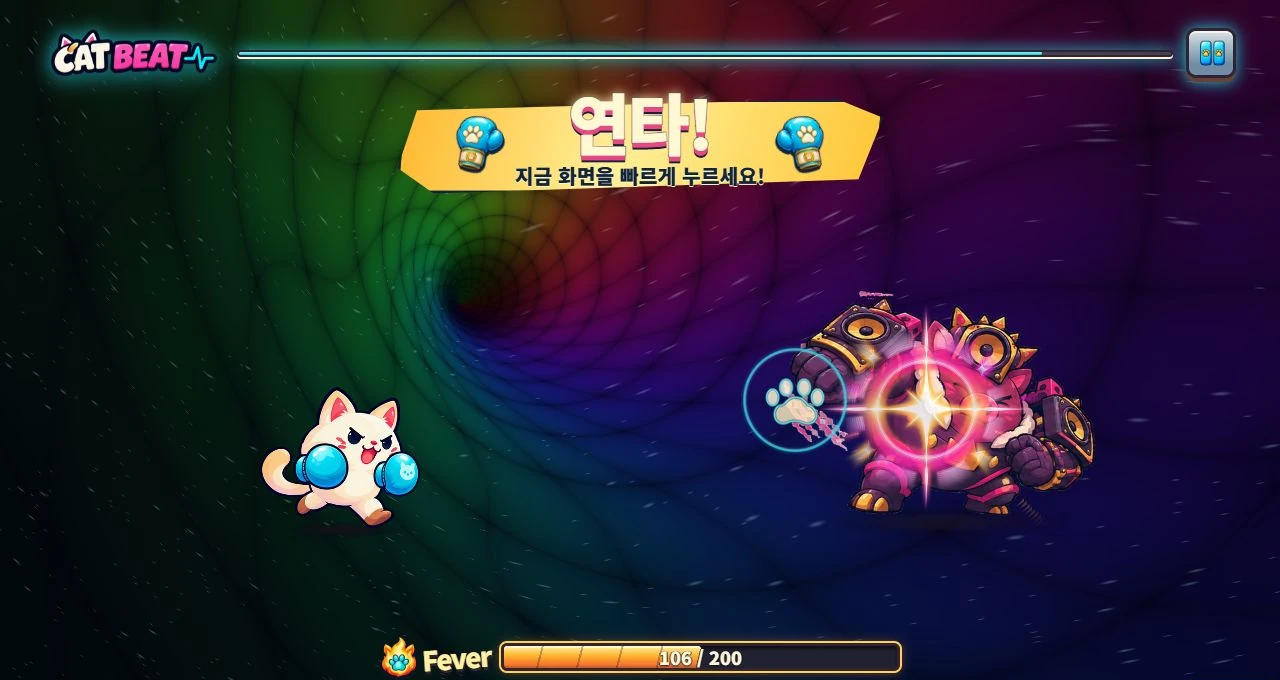
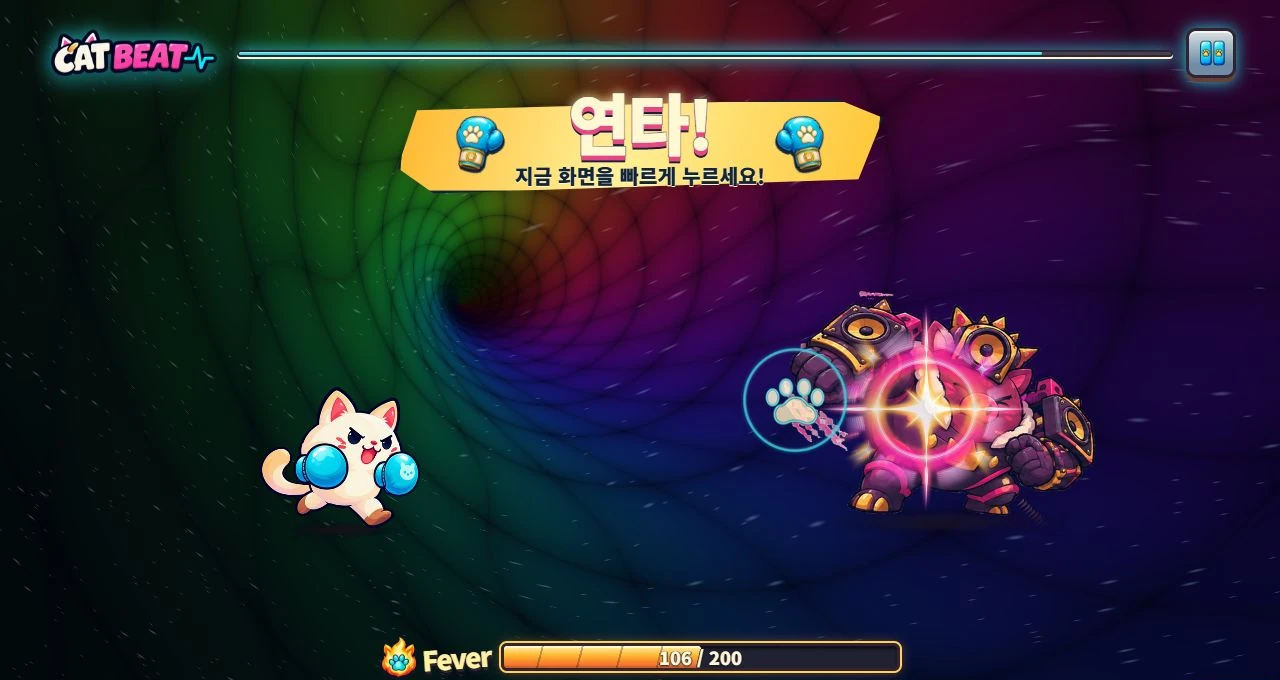
CAT BEAT : Wake the Beat · Development screenshot
A development screen emphasizing consecutive inputs and results. The examples below separately identify synthesized drum layers and their scheduled playback times.
Image credit: Level Up Today · Source page ↗ · Original image ↗
The same music, two input tasks
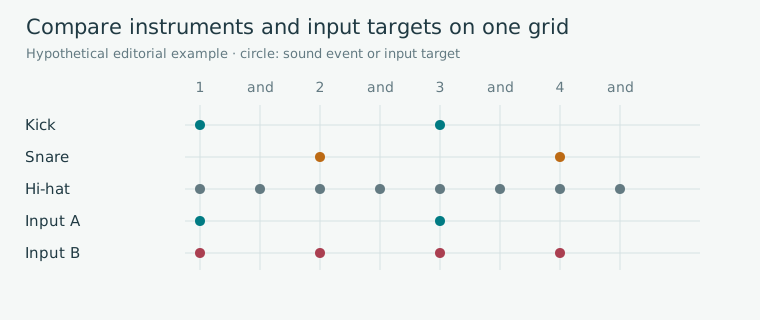
Editorial diagram · An original one-bar pattern at 120 BPM, separating the roles of 3 music rows and 2 input rows.
Horizontal axis: beats 1-and-2-and-3-and-4-and. Vertical: instruments and inputs. Circles indicate events or targets.
On smaller screens, scroll the diagram horizontally. Enlarge diagram ↗
Values and sequence shown in the diagram
- Kick 1 and 3 / snare 2 and 4 / hi-hat every half beat
- Input A: 1 and 3 / input B: 1, 2, 3 and 4
Keep tempo fixed when testing a half-time feel
The half-time candidate keeps 120 BPM but moves the snare to beat 3 only. The kick, hi-hat, levels and 16-beat duration remain fixed. Listeners can compare the spacing of accents within the same 8 seconds.
The separate 100, 120 and 140 BPM comparison keeps drum placement fixed instead. Distinguishing arrangement from tempo makes the source of each audible change clear. The three existing library examples illustrate changes in both conditions.
Related primary sources: Ableton · Backbeats ↗
Compare snare placement at a fixed 120 BPM
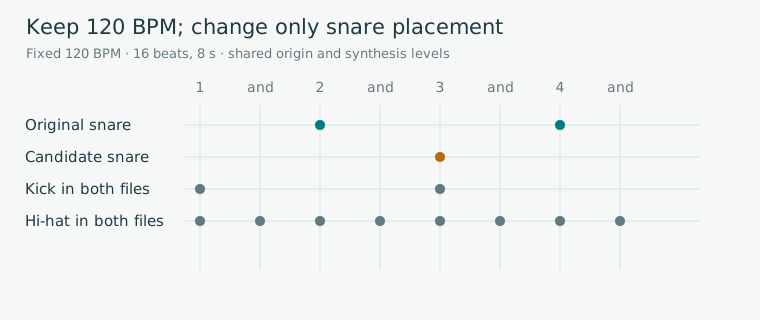
Editorial diagram · An original example changing only the snare, from beats 2 and 4 to the candidate on beat 3.
Horizontal axis: one bar, 0–2 seconds. Rows: original and halftime candidate.
On smaller screens, scroll the diagram horizontally. Enlarge diagram ↗
Values and sequence shown in the diagram
- Original snare: 0.5 and 1.5 s
- Candidate snare: 1.0 s
- Both files: 16 beats, 8 s
120 BPM original mix
120 BPM half-time candidate
Distinguish mixed files from individual stems
The existing library WAV mixes the instruments together; its CSV lists the times the synthesizer schedules each sound. time_seconds follows that schedule on the sample grid. The first nonzero waveform value and the moment a listener hears the attack are different measurements. Chart target times are chosen separately.
The new example also supplies kick, snare and hi-hat stems, all starting at 0 seconds and containing 384,000 frames at 48 kHz. Layering them requires scheduling the same audio start time and offset for all three. The individual players below let you inspect each sound on its own.
Separate files with aligned origins and lengths
| File | Origin and length | Role |
|---|---|---|
| Kick stem | 0 s · 8 s | Beats 1 and 3 |
| Snare stem | 0 s · 8 s | Beats 2 and 4 |
| Hi-hat stem | 0 s · 8 s | Every half beat |
| Mixed WAV | 0 s · 8 s | Sum of the 3 stems above |
Check levels and loop boundaries as layers are added
Sum the aligned stems and compare the result with the mixed file. Check peaks, whether impacts mask essential cues and whether loop boundaries line up. When switching on a layer, derive its offset and start time from the shared music position.
Put drum events, chart targets and input effects on the same timeline, but keep their roles distinct. Input feedback follows a real press; it is a different event from an accent already placed in a backing stem.
Listen to each layer separately
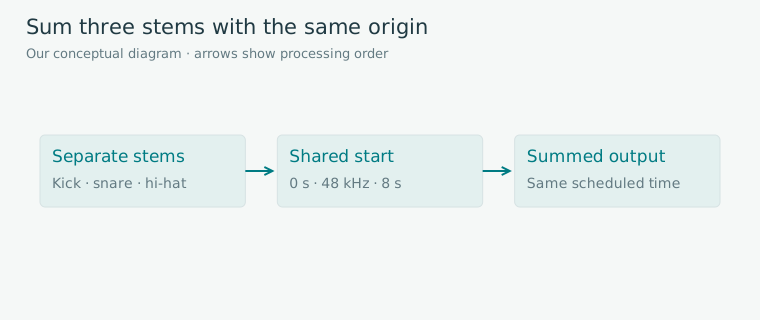
Editorial diagram · Three original stems with a shared origin and their summing path. Individual players are for solo inspection.
Columns: file → common start reference → summed output.
On smaller screens, scroll the diagram horizontally. Enlarge diagram ↗
Values and sequence shown in the diagram
- Shared format: 48,000 Hz, mono, 384,000 frames
Kick only
Snare only
Hi-hat only
Use the comparison to plan the next chart
Listen to the original pattern, then try kick-only targets A and every-beat targets B under the same display conditions. Next, compare the half-time candidate at the same tempo. Recording the cues followed, number of actions and direction changes shows how musical density differs from the task a player performs.
Check file structure, event schedules and stem sums automatically. Evaluate accent feel and cue clarity through listening and play. The fever screenshot illustrates feedback, while the files provide evidence of stem contents and playback accuracy.
Sources & scope
Sources reviewed 2026.10.17: Ableton's explanations of beats, tempo and backbeats. The grids, two input tasks, halftime candidate, WAV files and stems are original learning examples. The definition of time_seconds was compared with the existing library generator. Numerical checks of the new files are separate from listening evaluations.